A How-to for Installing a Rain Barrel
Benefits
- Supplement irrigation and save money over time
- Reduce stormwater runoff which can lead to reduced levels of pesticides and fertilizers in our water
- Help reduce the amount of water that may settle around the foundation of your home
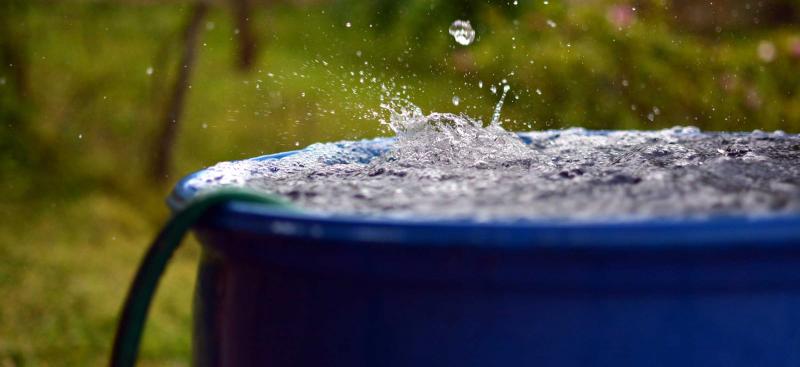
Uses for Collected Water
- Connect to a soaker hose (with the pressure-reducing washer removed)
- Fill a watering can and hand-water plants, flower beds and gardens
- Keep your compost bin moist
- Rinse off gardening tools
How Do I Get Started?
Step 1. Start With a Drum
Many people make rain barrels out of inexpensive 50-gallon food-grade drums that were used to carry juices, olives, pickles, etc. Stay away from ones that were used to carry harsh chemicals. Often you can find barrels for around $10 from drum and barrel suppliers.
Be sure to get a heavy-grade plastic container that won’t let in light — clear or translucent barrels can speed the growth of algae, which can clog pipes.
Rinse the inside of the barrel with a mixture of 1/8 cup of bleach and 5 gallons of water to wash away food or juice remnants.
Step 2. Chose a Location and Install a Hose Spigot
Some subdivisions have guidelines affecting size, location and appearance, so check with your homeowners association before installing a rain barrel.
Decide where to place the barrel — many people put them under a downspout for easy attachment. Also consider the distance to your plants, gardens and flower beds. If you don't have gutters, put the barrel under a valley in the roof that sheds a lot of water, and put a screen over the open barrel.
To install a 3/4" hose spigot, drill a 15/16" hole for the spigot threading just a few inches from the bottom of the barrel. This will provide a few inches of clearance for attaching a hose or filling a watering can and will allow for debris to settle below the outlet to reduce clogging.
Step 3. Build a Platform
Concrete cinder blocks provide a strong, stable and level platform for your rain barrel. If you use more than one layer of blocks, stack them in a crisscross pattern so they won't tip over.
Step 4. Connect Downspout to Barrel
Position the barrel at its set height and measure where you need to cut or disconnect your downspout. Often you can disassemble the downspout at the gutter by taking out screws or drilling out rivets. If you do have to cut it off, use a fine-toothed hacksaw blade or tin snips.
A flexible downspout extender makes an easy transition from the downspout to your barrel lid and eliminates the need for exact measurement because it bends and stretches to the length you need.
Step 5. Cut Barrel Opening and Add Screen
Place the downspout connection in the barrel. If your barrel comes with a lid, or if it has a sealed top, you will need to cut a hole in it. Use a window screen or wire mesh to keep out debris and insects, and clean the tank periodically to remove any settling. Leaf debris, bird droppings and chemicals from roof material won’t likely be harmful to plants.
Rain Barrel Installation Overview Video
Additional Information
- Download or order a 28-page homeowners guide that explains harvesting rainwater with a rain barrel.
- It’s important to keep your rain barrel independent from existing house piping or sprinkler system piping to prevent a cross-connection to your potable water.
- You may want to connect an overflow pipe or link multiple barrels together. An overflow pipe will carry excess water that would normally overflow the barrel to another part of the yard or into another rain barrel. This is a great way to reduce water around the foundation of your house during rain.
- A typical 1/2-inch rainfall will fill a 50- to 55- gallon barrel. Figure about a half gallon of water per square foot of roof area during a 1-inch rainfall. A 2,000-square-foot roof can collect about 1,000 gallons of water (accounting for about 20% loss from evaporation, runoff and splash).
To learn more about Rain Barrels, watch our Water Matters Podcast.
The referenced media source is missing and needs to be re-embedded.